Creating a Transaction
You can use a transaction to represent any interaction with a client, from a new listing to the time of an offer.
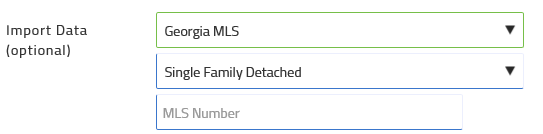
You can add a transaction manually, where you manually provide all of the transaction information. You can also use an MLS listing or the tax data record to automatically populate many of the fields in the transaction, decreasing the time it takes to add a transaction in TransactionDesk Edition.
Steps
- Navigate to Transactions
 .
.
The Transactions list page opens.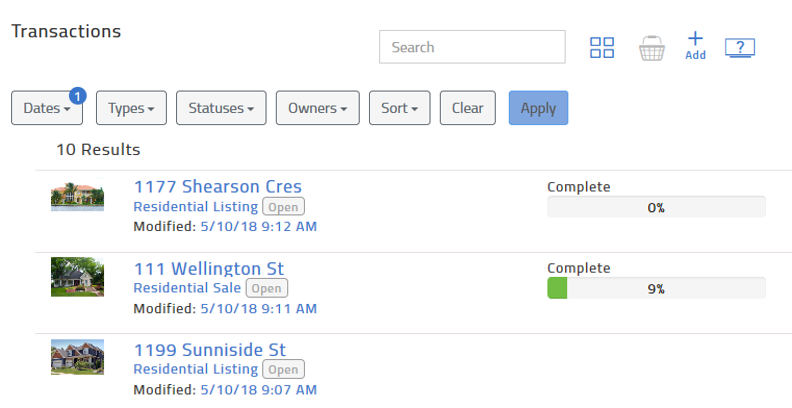
- Click Add.
The Create Transaction popup opens.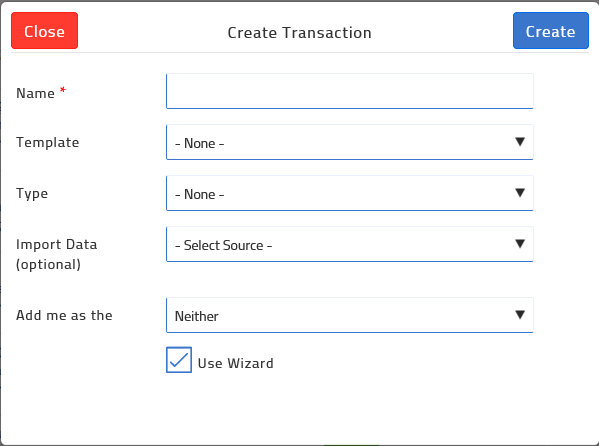
- Fill out the popup.
Click for detailed steps
- Click Create.
If you checked Use Wizard, the Wizard appears.
Note: If you imported information from MLS, much of the listing information is populated automatically.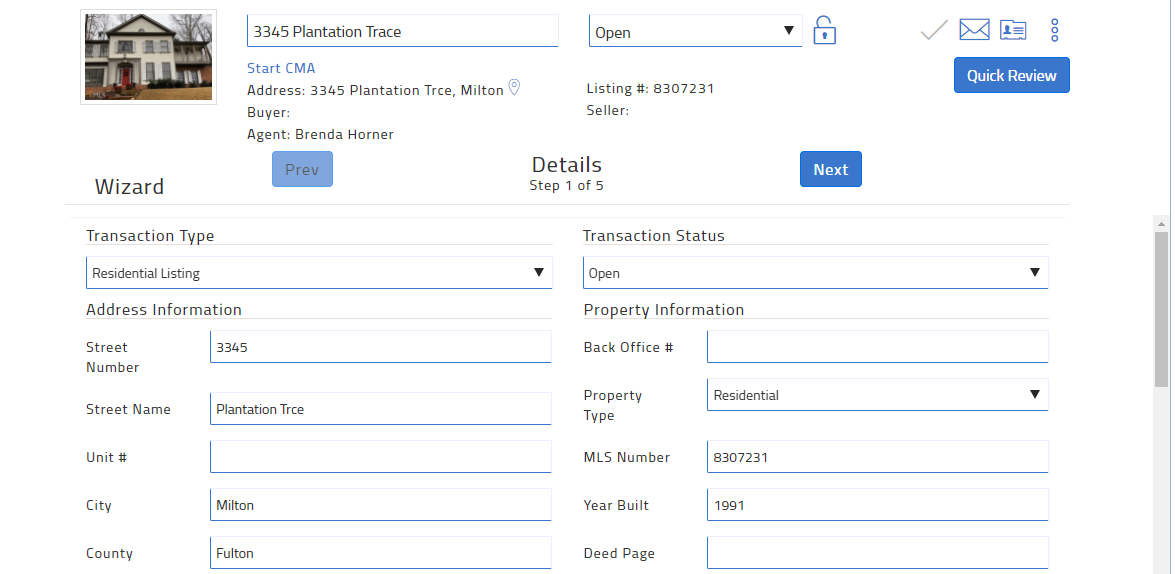
- At the top of the page, you can do any of the following:
- Update the listing address
- Use the status dropdown to set the transaction status
- Click email
 to view the specific email address for the transaction that you can use to email documents directly to the transaction.
 - Use the more options menu
 to do any of the following:
- Delete the transaction.
- Share the transaction with other agents within your office.
- Add a note to the transaction.
- Duplicate the transaction.
- Create or apply a template to the transaction.
- Import information from an MLS listing.
- Archive the transaction.
- Update the transaction status.
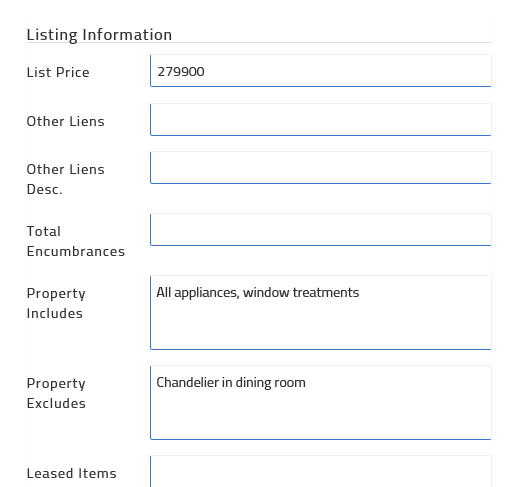
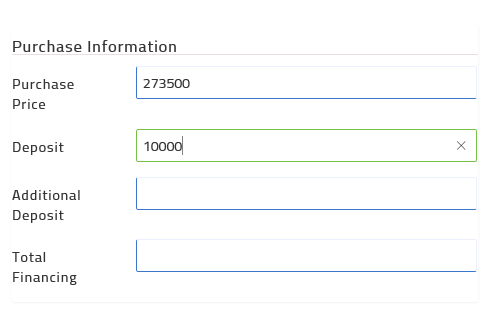
- Fill out the Details tab of the transaction.
Note: At any time, you can scroll down and click Save and exit.Click for detailed steps
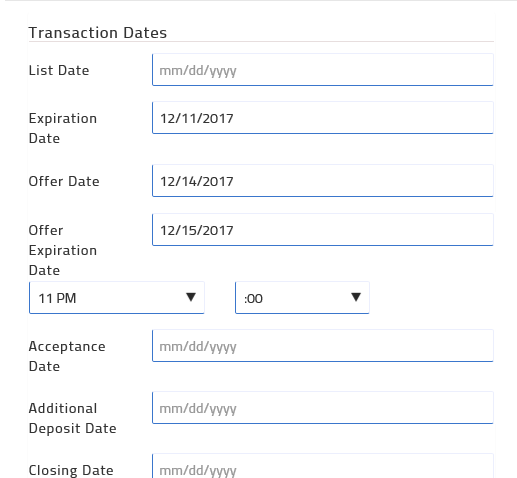
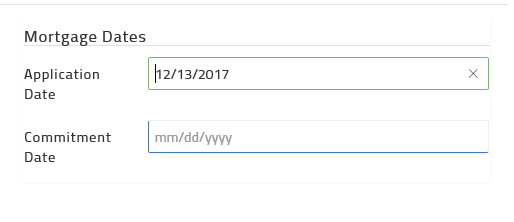
- Click Next and fill out the Transaction Dates tab of the transaction.
Click for detailed steps
- Click Next or click the Contacts tab, and add contacts to the transaction.
Note: If you added yourself to the transaction, your name appears. Other contacts are populated from the MLS listing.
Click for detailed steps
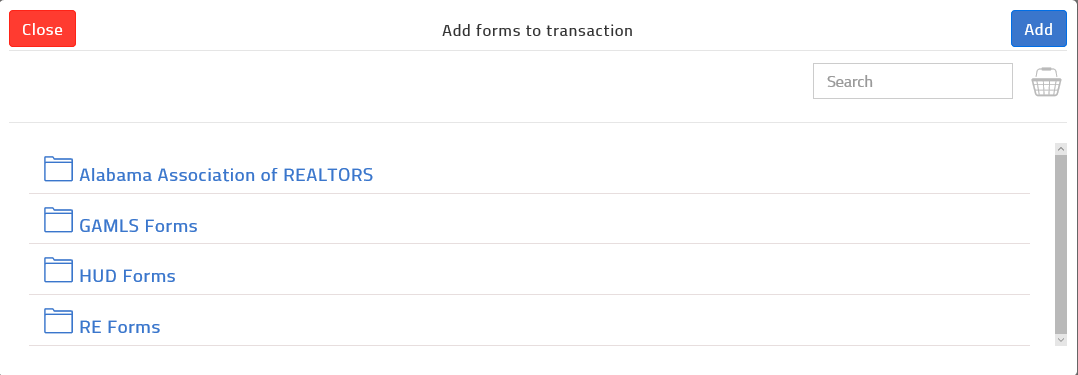
- Click Next or click the Forms tab, and add more forms to the transaction.
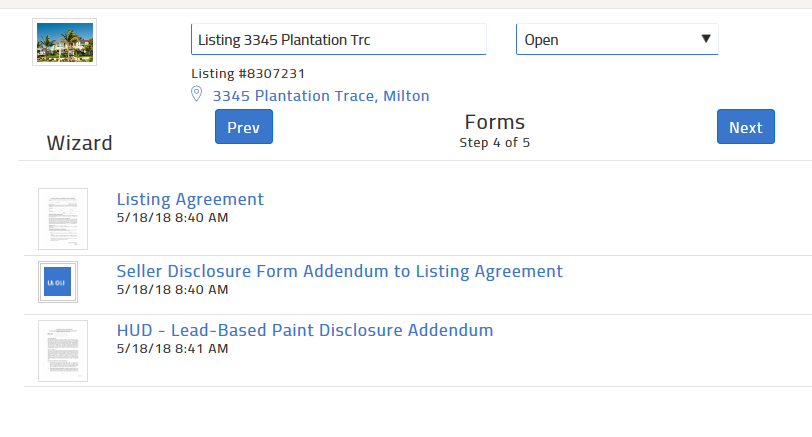
Click for detailed steps
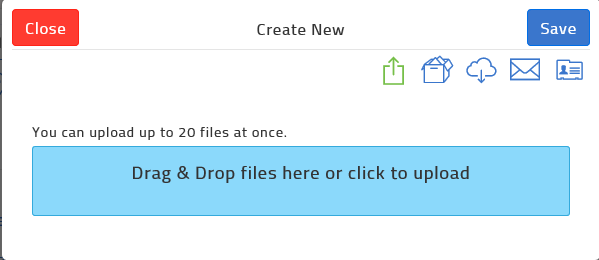
- Click Next or click the Documents tab, and add more documents to the transaction.
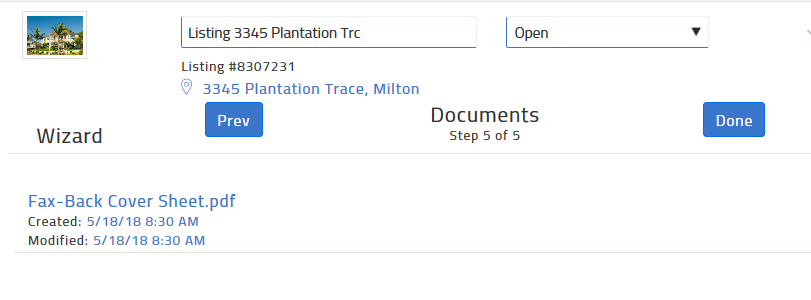
Click for detailed steps
- Click Done.
The transaction is added to the list of transactions in the system.

Related Articles
Creating a Checklist
Having checklists for each of the key types of transactions you create can save you a lot of time. The checklist provides a list of things you need to do, or documents you need to gather to complete a transaction. Checklist items can be mandatory or ...Creating a Signing Session
Create a signing when you need to send documents or forms to be signed or reviewed by various participants, or when you need to sign a document or form yourself. Steps Navigate to Signings. The Signings page opens. Click Add. The Create Signing popup ...Using Forms
Create a standalone form Navigate to Forms . The list of form templates available to you appears. Locate the form you need to create, such as a buyer representation agreement. Use the more options menu to select New. The New Form window opens. Click ...Customize Your Dashboard
Each user of TransactionDesk can personalize their view of the transaction dashboard to make it as meaningful as possible. When you customize your view, it does not affect any other user's view of transactions. It does, however, define the view you ...Adding GAR forms access
In Transaction Desk, click on the user profile button in the upper right corner. From the menu that appears, click Settings. On the next screen, click Preferences at the top of the list of options: On the preferences menu, expand the GAR Forms ...